A transaction template creates a standard set of forms, documents and checklist items that simplify the process of creating a transaction.
For example, when you are working on a residential listing, you may have certain forms and documents that you/your office are required to use for residential listings. You may also have a list of tasks that apply to most residential listings. You can save yourself a lot of time and effort by creating a template called
Residential Listings
and attaching the necessary forms, documents and checklist to it. Then, each time you create a transaction for a residential listing, you only need to apply the
Residential Listings
template: all of the forms, documents and checklist items required are automatically added to the transaction.
It is recommended that you create a checklist to be used with the template. A checklist ensures that all documents and tasks associated with this type of transaction are attached and completed. The checklist also establishes due dates for tasks and reviewers for documents.
Before you begin
You must have Super User access in TransactionDesk in order to be able to create transaction templates for your office. You must also be logged into TransactionDesk Edition as a Broker.
Once created, you can share a transaction template with your team members using the Sharing option. Before you can share a transaction template with a group or team, the group must first be defined.
Before you can add a checklist to a template, the checklist template must be defined.
-
Navigate to
Settings
 in the menu on the left side of the screen.
-
Select
Transaction Templates
. The list of existing templates is displayed.
-
Click the
Add
button in the upper right to open the
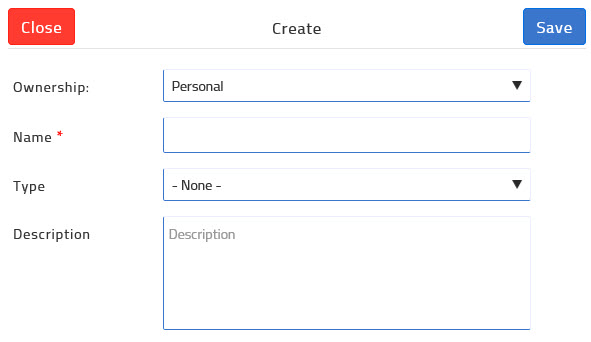
Create Transaction Template:
-
Use the
Ownership
dropdown to select who owns this template: choose
Personal
if the template is for your own use, or to be shared with your team; choose
Office
if it is to be available to all agents in the office.
-
Use the
Name
field to give the template a meaningful name, such as Residential Listings.
-
Use the
Type
dropdown to select the type of transactions this template should be used for.
-
The
Description
field is optional but can be used to enter a description for the template.
-
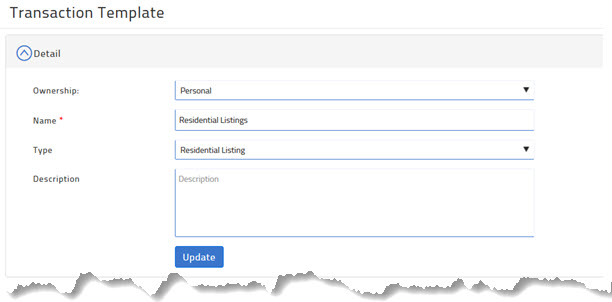
Click
Save
. The Transaction Template page appears:
-
Click the + sign (to the right of Checklists) to add a checklist to the template that would be applicable to all transactions of that type. Use the list of checklists to select one or more checklists, and click
Add
. Going forward, any transactions created from this template will automatically have the selected checklists attached.
-
To add a contact to the template that would be common to all transactions of that type (such as escrow company), click the + sign (to the right of
Contacts
). If the contact is already in the list, select it; if the contact is not in the list, you can create it from here. Any future transactions created from this template will automatically include the contact(s).
-
To add the documents that are typically required for this type of transaction, click the + sign to the right of
Documents and Folders
.
- If you want to add individual documents, select Add document , add the desired documents and click Save .
- If you want to add a folder to organize the documents you are adding to this template, select Add folder , name it and click Save .
-
If you want to add a document to a folder you created here, click the folder name to open it, then click the + sign
,
select
Add document
and add the documents that you want in that folder. Click
Save
when you're done.
-
To add the forms that are typically required for this type of transaction, click the + sign to the right of
Forms
section, locate the desired form(s) and click
Add
. Going forward, any transactions created from this template will automatically have these forms attached.
-
To share this template with your team, click the + sign to the right of Sharing:
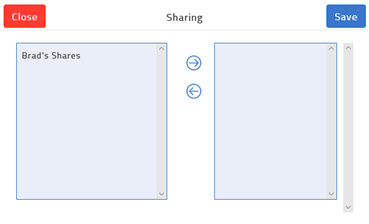
- Use the left column to select the name of the group with whom you would like to share this template.
- Click the right arrow to add the selected group to the sharing list.
-
Click
Save
.
- Click Update .
Related articles :
Comments
Please sign in to leave a comment.